
はじめに
自宅の環境にメールサーバを立ててZabbixで検知したアラートをGmailへ通知するようにする環境を構築してみましたので、構築した方法について記載しています。
環境説明
Zabbix
OS:CentOS7.8
Zabbixバージョン:Zabbix5.0
インストール方法についてはこちらをご参考ください

メールサーバ
OS:CentOS7.8
メールサーバ:Postfix
OSはminimalインストールで構築
通知するgmailのメールアドレス:satimo-test@gmail.com(仮です)
gmailのパスワード:(googleアカウントのパスワードです):satimo
メールサーバ(Postfix)の構築
SELinuxとfirewalldの無効化
[root@mail ~]# systemctl stop firewalld
[root@mail ~]# systemctl disable firewalld
Removed symlink /etc/systemd/system/multi-user.target.wants/firewalld.service.
Removed symlink /etc/systemd/system/dbus-org.fedoraproject.FirewallD1.service.

[root@mail ~]# setenforce 0
[root@mail ~]# vi /etc/selinux/config
SELINUX=enforcing
↓
SELINUX=disabled

[root@mail ~]# yum update -y
SMTP認証で利用するCyrus SASLのインストール
[root@mail ~]# yum install cyrus-sasl-plain
読み込んだプラグイン:fastestmirror
Loading mirror speeds from cached hostfile
 * base: ftp.nara.wide.ad.jp
 * extras: ftp.nara.wide.ad.jp
 * updates: ftp.nara.wide.ad.jp
依存性の解決をしています
--> トランザクションの確認を実行しています。
---> パッケージ cyrus-sasl-plain.x86_64 0:2.1.26-23.el7 を インストール
--> 依存性解決を終了しました。

依存性を解決しました

================================================================================
 Package                 アーキテクチャー
                                       バージョン             リポジトリー
                                                                           容量
================================================================================
インストール中:
 cyrus-sasl-plain        x86_64        2.1.26-23.el7          base         39 k

トランザクションの要約
================================================================================
インストール  1 パッケージ

総ダウンロード容量: 39 k
インストール容量: 39 k
Is this ok [y/d/N]: y
Downloading packages:
cyrus-sasl-plain-2.1.26-23.el7.x86_64.rpm                  |  39 kB   00:00
Running transaction check
Running transaction test
Transaction test succeeded
Running transaction
  インストール中          : cyrus-sasl-plain-2.1.26-23.el7.x86_64           1/1
  検証中                  : cyrus-sasl-plain-2.1.26-23.el7.x86_64           1/1

インストール:
  cyrus-sasl-plain.x86_64 0:2.1.26-23.el7

完了しました!
postfix設定ファイルの編集
[root@mail ~]# vi /etc/postfix/main.cf
#inet_interfaces = all
#inet_interfaces = $myhostname
#inet_interfaces = $myhostname, localhost
inet_interfaces = localhost
↓
inet_interfaces = all
#inet_interfaces = $myhostname
#inet_interfaces = $myhostname, localhost
#inet_interfaces = localhost

↓追加
relayhost = [smtp.gmail.com]:587
smtp_use_tls = yes
smtp_tls_CApath = /etc/pki/tls/certs/ca-bundle.crt
smtp_sasl_auth_enable = yes
smtp_sasl_password_maps = hash:/etc/postfix/sasl_passwd
smtp_sasl_tls_security_options = noanonymous
smtp_sasl_mechanism_filter = plain
認証ユーザの設定
[root@mail ~]# vi /etc/postfix/sasl_passwdGoogleアカウントとアカウントのパスワードを入力
こんな感じ
[smtp.gmail.com]:587 <googleアカウント>@gmail.com:googleアカウントのパスワード[smtp.gmail.com]:587 satimo-xxxx@gmail.com:xxxxx[root@mail ~]# chmod 600 /etc/postfix/sasl_passwd
[root@mail ~]# postmap hash:/etc/postfix/sasl_passwd[root@mail ~]# systemctl restart postfix動作確認
[root@mail ~]# yum install -y mailx
読み込んだプラグイン:fastestmirror
Loading mirror speeds from cached hostfile
 * base: ftp.nara.wide.ad.jp
 * extras: ftp.nara.wide.ad.jp
 * updates: ftp.nara.wide.ad.jp
依存性の解決をしています
--> トランザクションの確認を実行しています。
---> パッケージ mailx.x86_64 0:12.5-19.el7 を インストール
--> 依存性解決を終了しました。

依存性を解決しました

================================================================================
 Package         アーキテクチャー バージョン               リポジトリー    容量
================================================================================
インストール中:
 mailx           x86_64           12.5-19.el7              base           245 k

トランザクションの要約
================================================================================
インストール  1 パッケージ

総ダウンロード容量: 245 k
インストール容量: 466 k
Downloading packages:
mailx-12.5-19.el7.x86_64.rpm                               | 245 kB   00:00
Running transaction check
Running transaction test
Transaction test succeeded
Running transaction
  インストール中          : mailx-12.5-19.el7.x86_64                        1/1
  検証中                  : mailx-12.5-19.el7.x86_64                        1/1

インストール:
  mailx.x86_64 0:12.5-19.el7

完了しました!
[root@mail ~]# mail satimo-xxxx@gmail.com
Subject: subject
xxxxx
.
EOT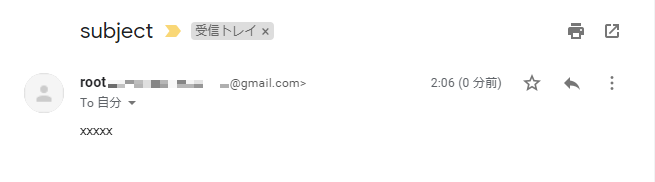
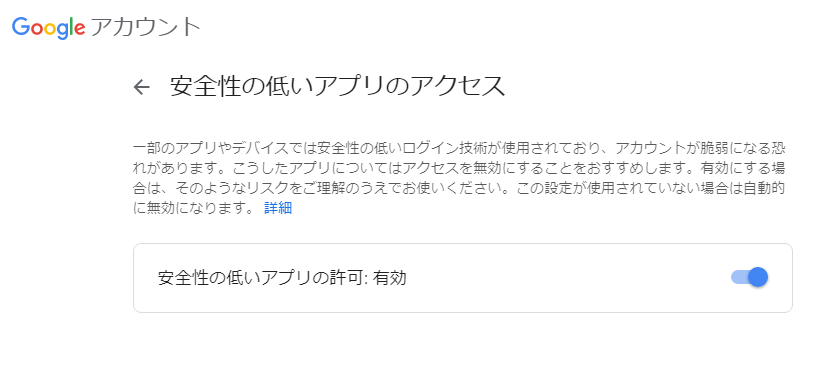
Googleアカウントのセキュリティ設定の変更
googleアカウントにログイン後↓のURLに接続
https://myaccount.google.com/lesssecureapps
Zabbix側の設定
メディアタイプの設定
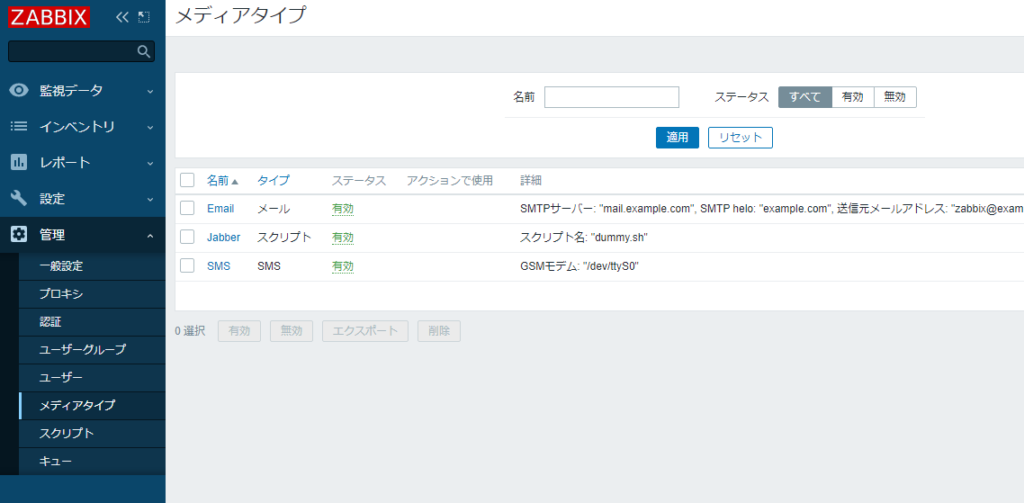
Zabbixのコンソールにログインして『管理』-『メディアタイプ』をクリックします。
初めから用意されている「Email」の設定を利用して準備したいと思いますので『Email』をクリックします。
表示された画面下の『複製』をクリックします。
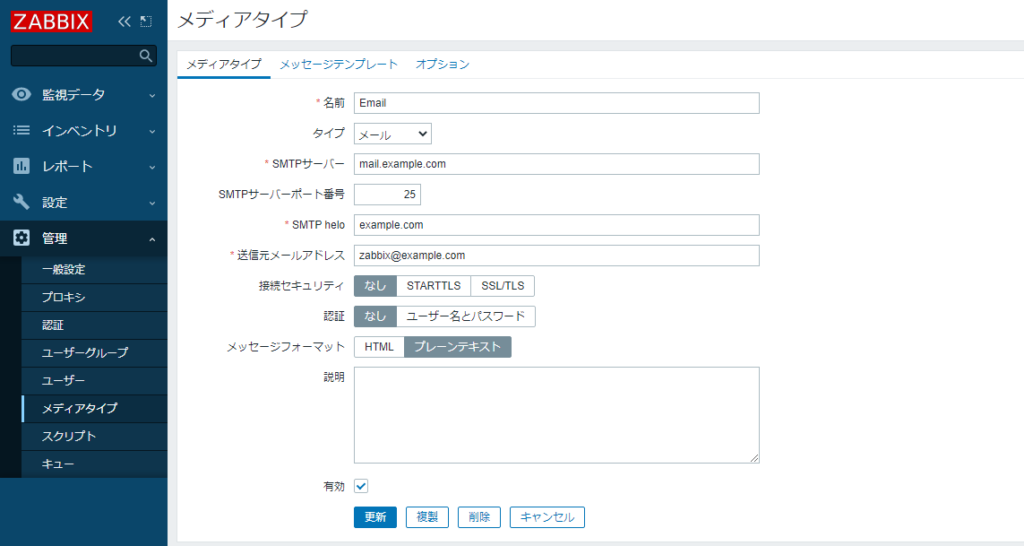
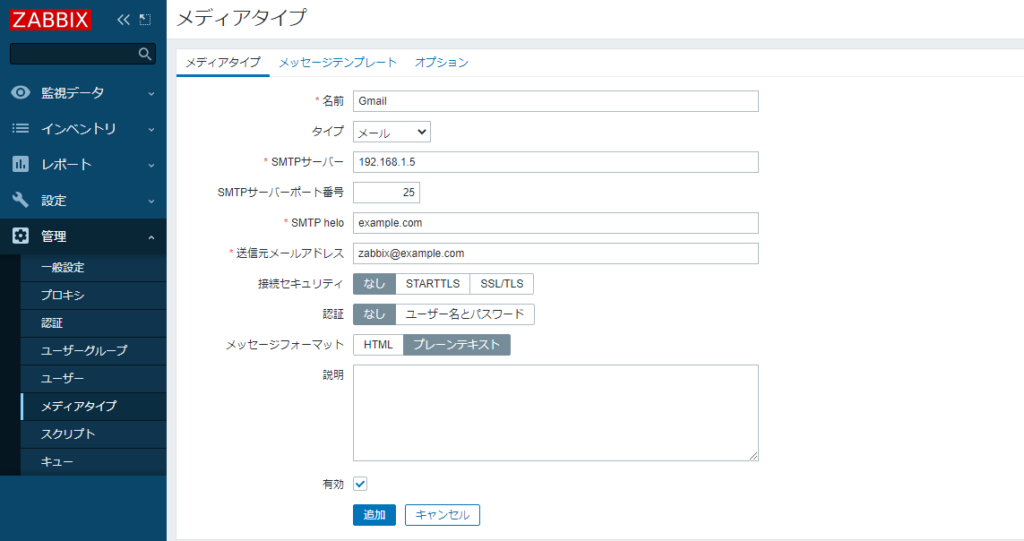
名前の項目を『Gmail』に変更し『追加』をクリックします。
SMTPの項目には前項で構築したメールサーバのアドレスを入力します。
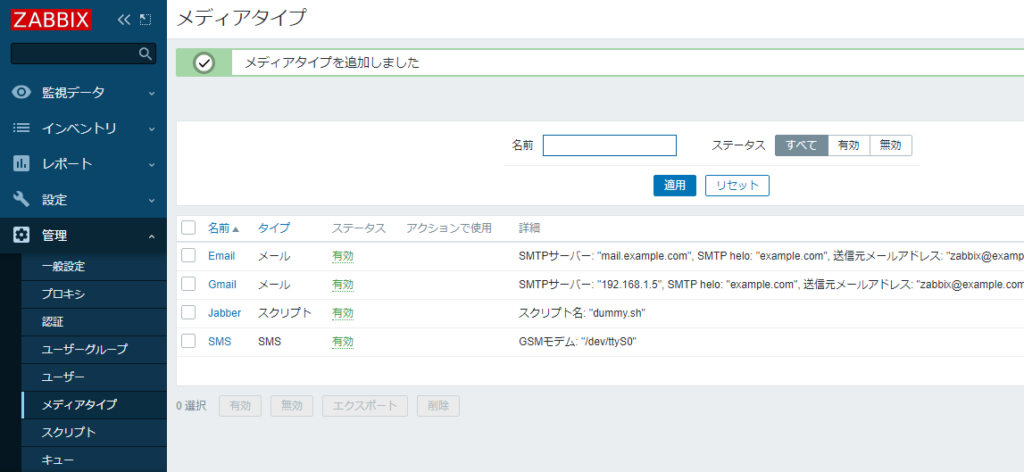
メディアタイプとして『Gmail』が登録されたことを確認します。
メディアの設定
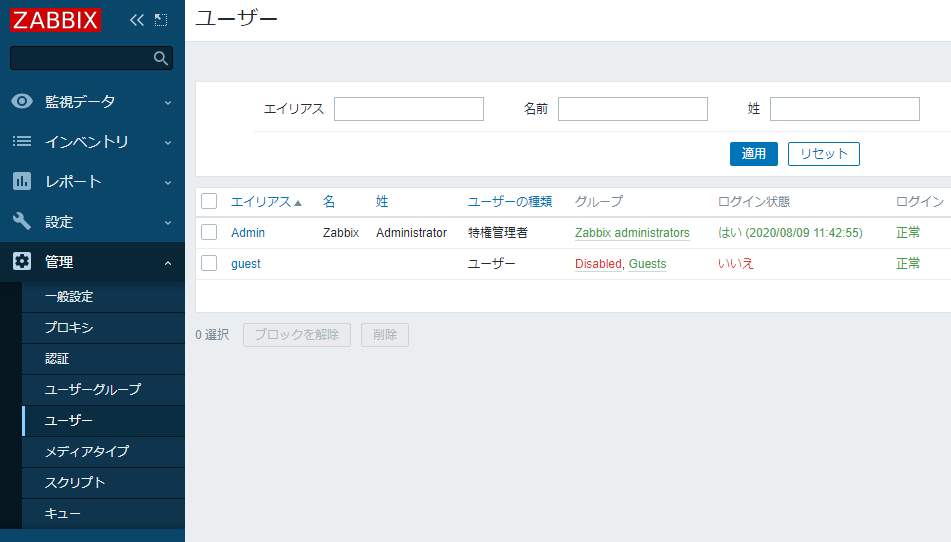
『管理』-『ユーザ』-『Admin』をクリックします。
『メディア』タブをクリックします。

タイプを『Gmail』、送信先を『通知するGmailのアドレス』を入力し『追加』をクリックします。

『更新』をクリックします。
※良く更新を押し忘れるのでご注意。。。
私はこれで半日潰れたことがありました。。。

「ユーザーを更新しました」と表示されることを確認します。

アクションの設定
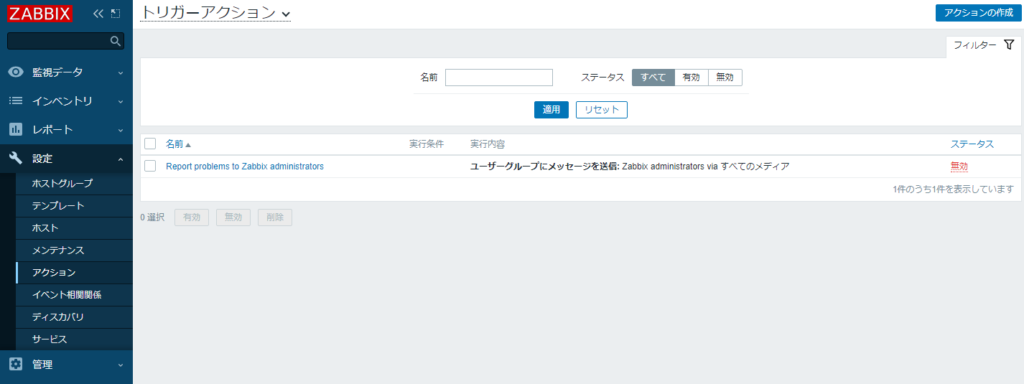
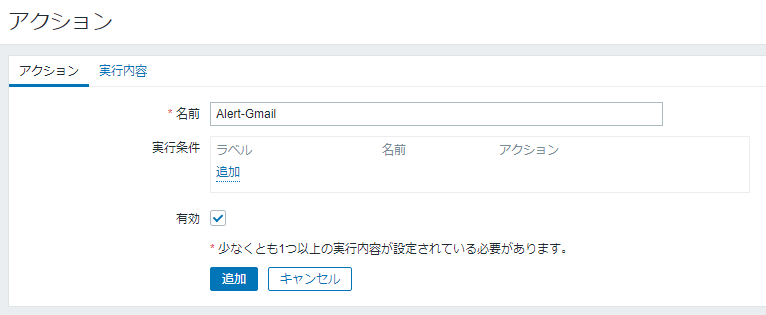
『設定』-『アクション』-『アクションの作成』をクリックします。
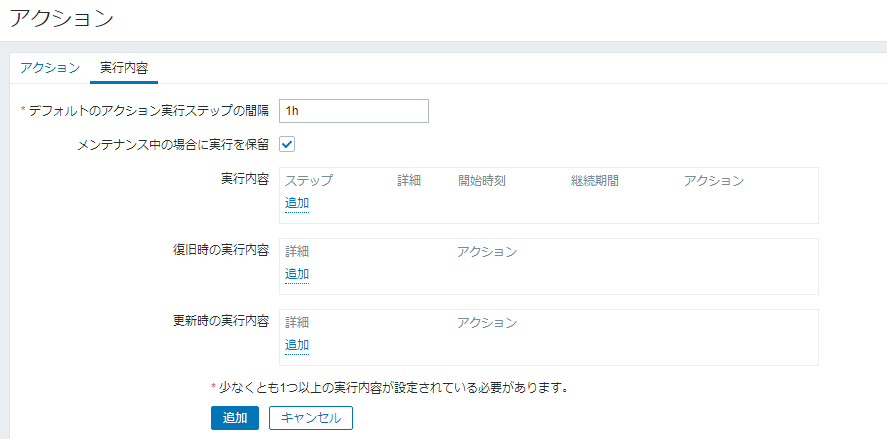
名前に『Alert-Gmail』と入力し『実行内容』タブをクリックします。
「実行内容」の項目の『追加』をクリックします。
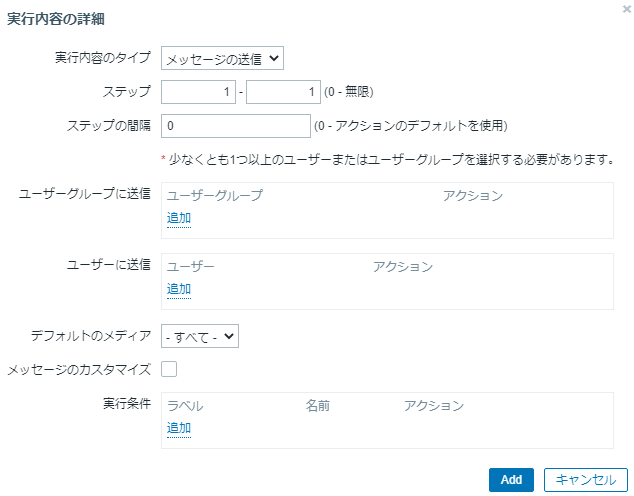
「ユーザーに送信」内の『追加』をクリックします。
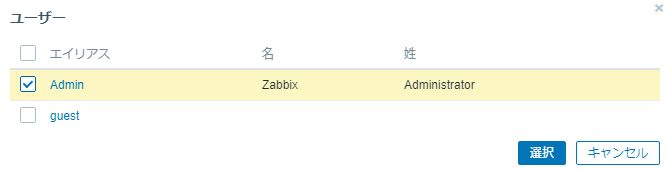
『Admin』にチェックを入れ『選択』をクリックします。
デフォルトのメディアを『Gmail』に変更し『Add』をクリックします。
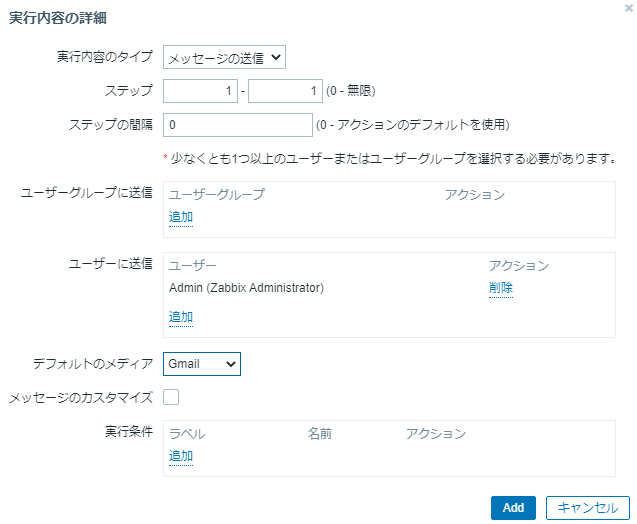
実行内容が登録されたことを確認し『追加』をクリックします。
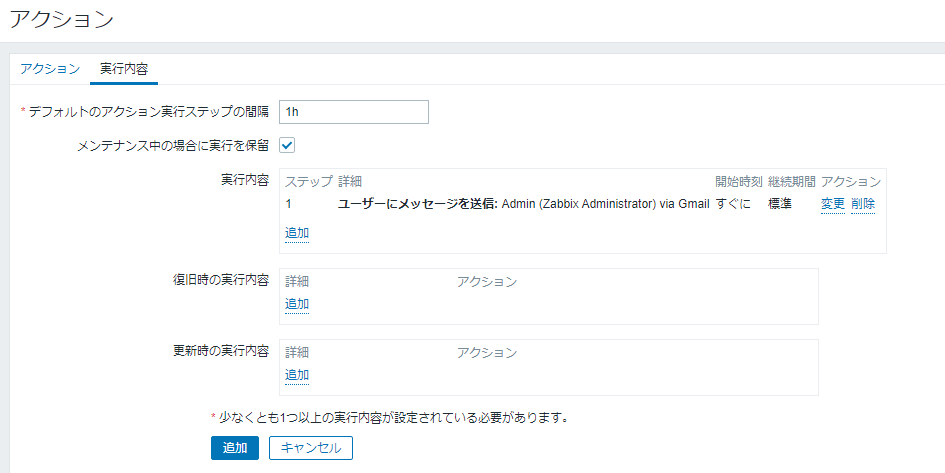
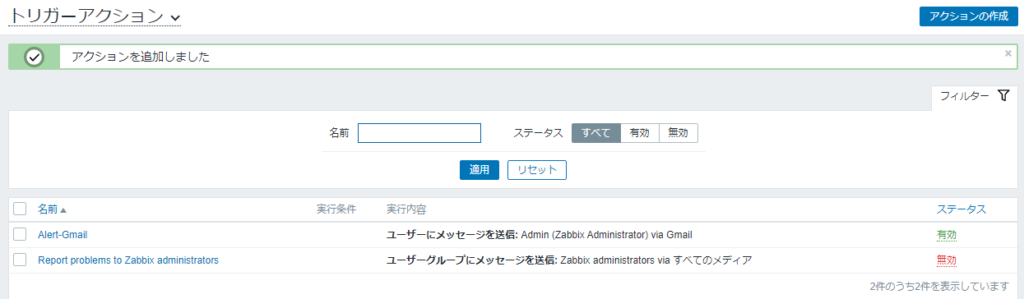
アクションが作成されたことを確認します。
動作確認
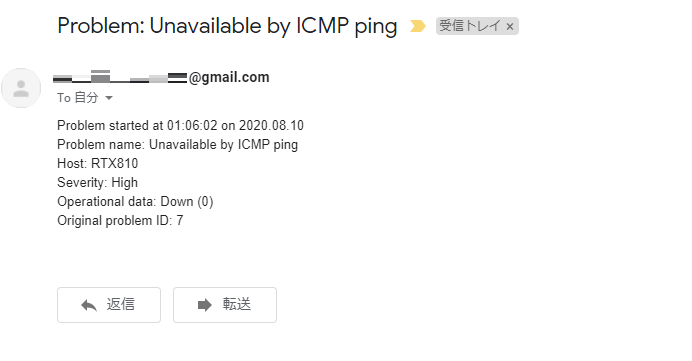
Zabbixサーバ上で障害を発生させます。
ここでは標準で用意されているテンプレート「Template Module ICMP Ping」を適用に作成したホストに割り当てて存在しないIPアドレスを設定し障害を起こしています。
コンソール上に障害のイベントが表示されることを確認します。
右にあるアクションの数字にマウスを合わせるとステータス「送信済」となっていることが確認できます。

Gmailのアドレスに通知されたことを確認します。
おつかれさまでした!


コメント