
お疲れ様です。satimoです。
Zabbix6.系をインストールしようと思ったらCentOS7はサポート対象外なようです。(Zabbixのサポート会社に確認済み (´;ω;`))
ということでサポートしているOSかつ無償で提供されているAlmaLinuxへZabbix6.0をインストールしたので手順の紹介になります。
事前にAlmaLinuxをインストールする必要があるので、まずはこちらの記事に書いてある手順でAlmaLinuxの導入をお願いします。
CentOS7系のサポート終了も近づいてきたのでAlmaLinux8.6をVMwareESXiへインストールしてみる
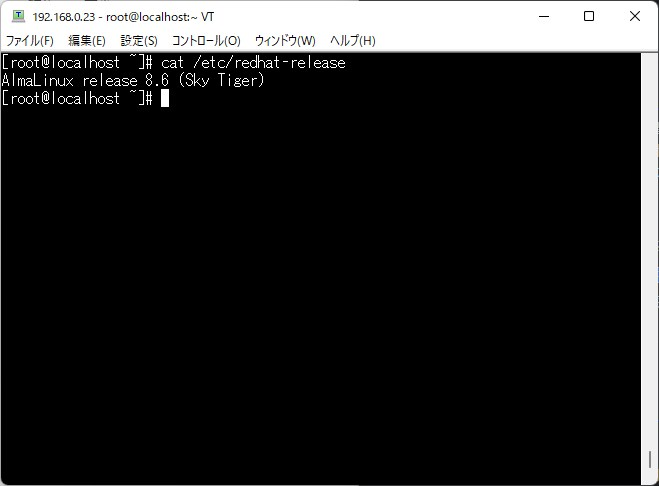
AlmaLinuxの導入を行ってyum update を行った環境がこちら
Zabbix6.0をインストール環境の紹介
まず、今回インストールする環境の紹介をさせていただきます。
メモ
- OS :AlmaLinux 6.8
- Zabbix Version:Zabbix6.0
- DataBase:MySQL
- Webサーバー:Apache
Zabbixリポジトリのインストール
基本は公式サイトの記載の内容に沿って行います。
公式サイト:https://www.zabbix.com/download
ただし、一部日本語対応等が必要になるのでそういった場合は適宜対応しています。
まずは、Zabbixのリポジトリ登録を行っていきます。
# rpm -Uvh https://repo.zabbix.com/zabbix/6.0/rhel/8/x86_64/zabbix-release-6.0-1.el8.noarch.rpm
# dnf clean all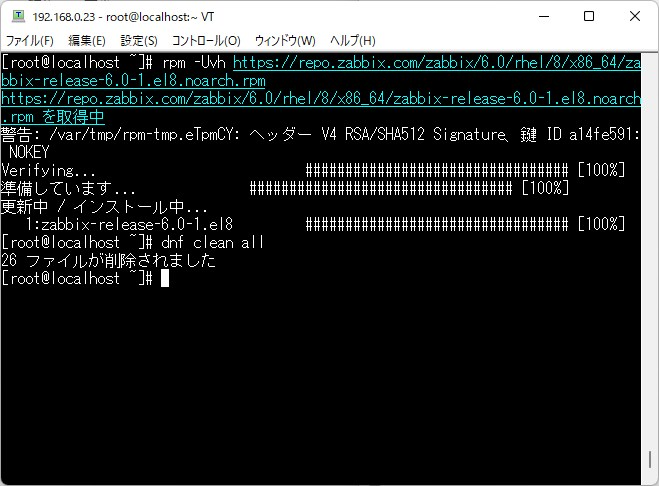
Zabbix、データベース、Webサーバーのインストール
※公式記載の内容に加えて『zabbix-web-japanese』と『mysql-server』をインストールしています
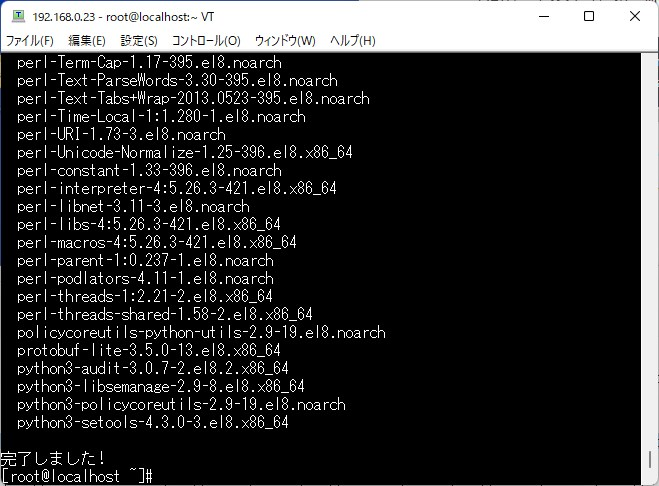
# dnf install zabbix-server-mysql zabbix-web-mysql zabbix-apache-conf zabbix-sql-scripts zabbix-selinux-policy zabbix-agent zabbix-web-japanese -y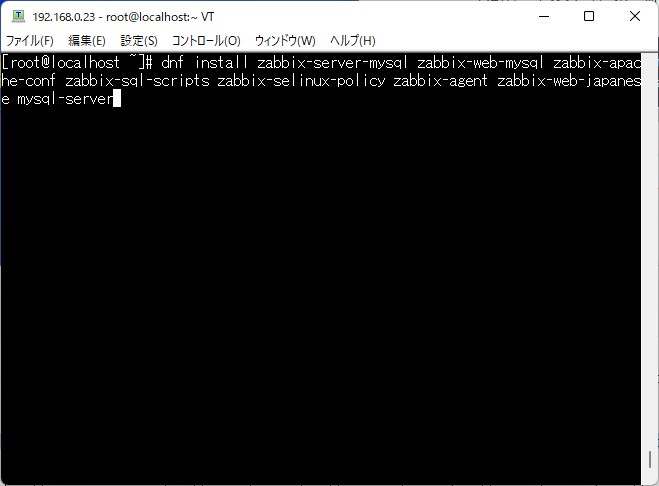
DBの初期設定
MySQLのサービス起動
必要なパッケージのインストールが終わったら続いてデータベースの初期設定を行っていきます。
まずはMySQLのサービスの起動と自動起動設定を有効にしておきます。
# systemctl start mysqld
# systemctl enable mysqld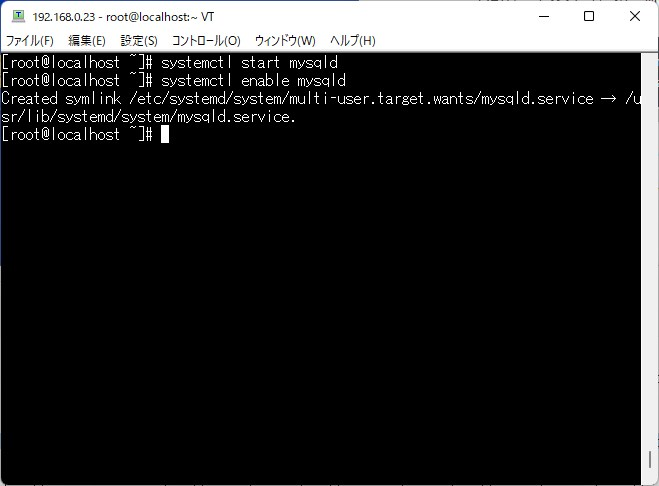
MySQLのrootにパスワードを設定する
続いてMySQLのrootのパスワード設定を行います。
# mysql_secure_installation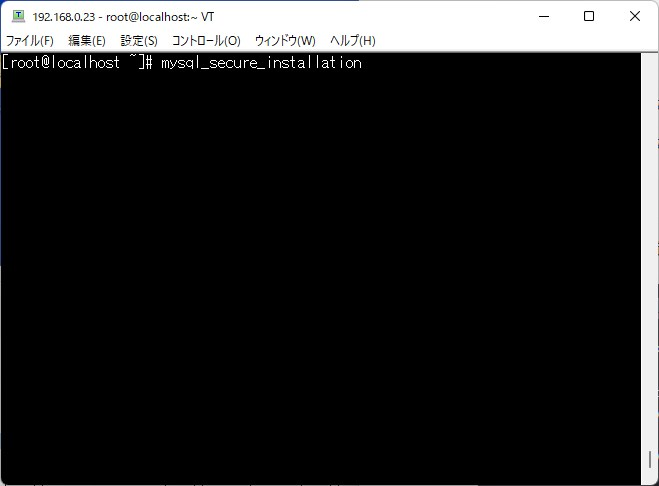
下記は実行した際の例になります。 “[ ]”←は何か入力した際の内容
[root@localhost ~]# mysql_secure_installation

Securing the MySQL server deployment.

Connecting to MySQL using a blank password.

VALIDATE PASSWORD COMPONENT can be used to test passwords
and improve security. It checks the strength of password
and allows the users to set only those passwords which are
secure enough. Would you like to setup VALIDATE PASSWORD component?

Press y|Y for Yes, any other key for No: [Enter]
Please set the password for root here.

New password: [rootに設定するパスワード]

Re-enter new password: [rootに設定するパスワード]
By default, a MySQL installation has an anonymous user,
allowing anyone to log into MySQL without having to have
a user account created for them. This is intended only for
testing, and to make the installation go a bit smoother.
You should remove them before moving into a production
environment.

Remove anonymous users? (Press y|Y for Yes, any other key for No) : [Enter]

 ... skipping.


Normally, root should only be allowed to connect from
'localhost'. This ensures that someone cannot guess at
the root password from the network.

Disallow root login remotely? (Press y|Y for Yes, any other key for No) : [Enter]

 ... skipping.
By default, MySQL comes with a database named 'test' that
anyone can access. This is also intended only for testing,
and should be removed before moving into a production
environment.


Remove test database and access to it? (Press y|Y for Yes, any other key for No) : [Enter]

 ... skipping.
Reloading the privilege tables will ensure that all changes
made so far will take effect immediately.

Reload privilege tables now? (Press y|Y for Yes, any other key for No) : [Enter]

 ... skipping.
All done!
データベースを作成する
rootユーザのパスワードを設定したらzabbixで利用するユーザとデータベースの作成を行います。
今回は”zabbix”というユーザと”zabbix”ユーザのパスワードとして”zabbixpass”を設定します。
# mysql -u root -p
[rootユーザように設定したパスワードを入力]
mysql> create database zabbix character set utf8mb4 collate utf8mb4_bin;
mysql> create user zabbix@localhost identified by 'zabbixpass';
mysql> grant all privileges on zabbix.* to zabbix@localhost;
mysql> quit;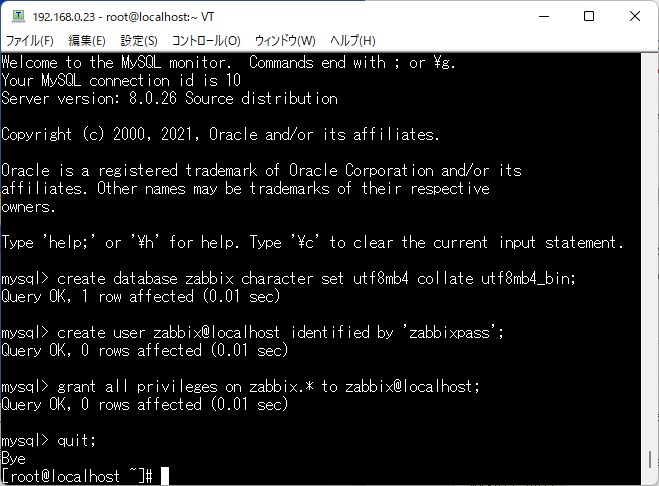
Zabbix用のスキーマと初期データの取り込みを行う
簡単に言えば、DBは作成したけど中身が何もないので必要なデータを取り込みましょうといった内容になります。
# # zcat /usr/share/doc/zabbix-sql-scripts/mysql/server.sql.gz | mysql -uzabbix -p zabbix
Enter password:[zabbixpass]
Zabbix Serverの初期設定
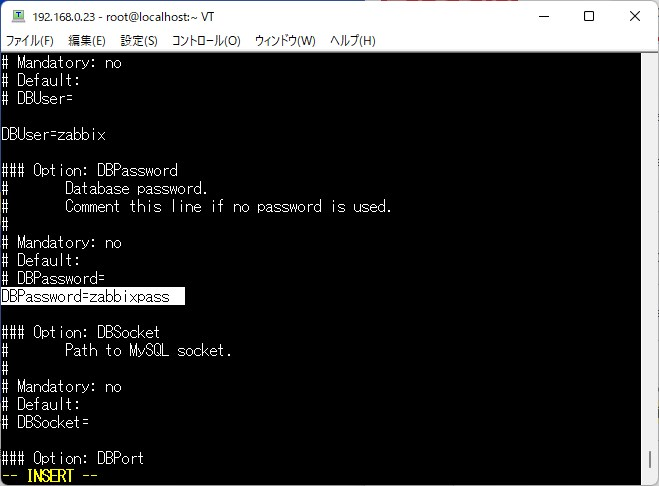
# vi /etc/zabbix/zabbix_server.conf

~~~略~~~
### Option: DBPassword
#       Database password.
#       Comment this line if no password is used.
#
# Mandatory: no
# Default:
# DBPassword=
DBPassword=zabbixpass ←DB作成時に設定したzabbixユーザのパスワード入力

### Option: DBSocket

~~~略~~~
Zabbixサーバー、Webサーバーのサービス起動
# systemctl restart zabbix-server zabbix-agent httpd php-fpm
# systemctl enable zabbix-server zabbix-agent httpd php-fpm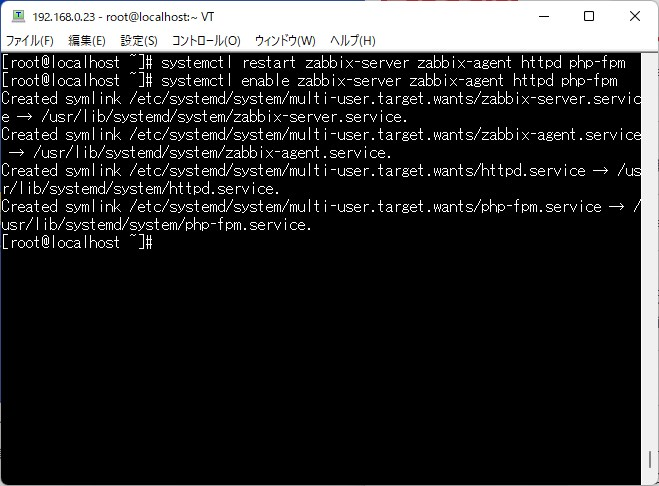
ZabbixのWeb画面に接続できることを確認する
管理画面に接続する前にFirewallの設定を行います。
おまけで、Zabbix エージェントからの通信ポート(10051)も開けておきます
# firewall-cmd --add-port=10051/tcp --zone=public --permanent

# firewall-cmd --add-service=http --zone=public --permanent
# firewall-cmd --reload

Zabbixの管理画面に接続する
今回私が構築したZabbixサーバのIPアドレスは192.168.0.23になりますので
http://192.168.0.23/zabbix/
へ接続を行います。(皆さんの環境に合わせてIPアドレスの値は変更して読んでください。)
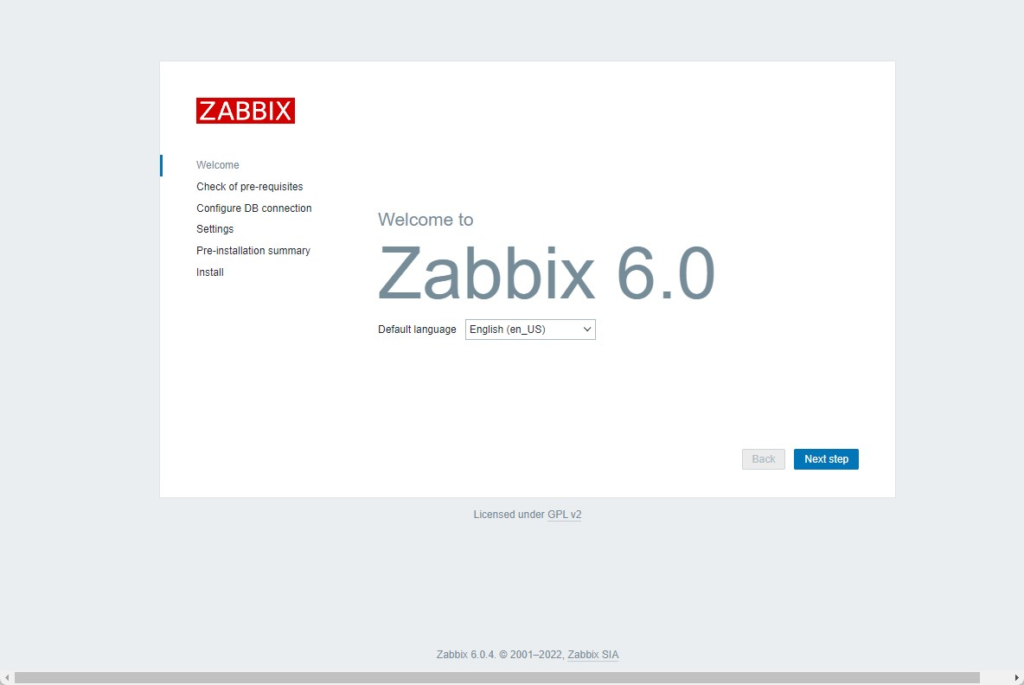
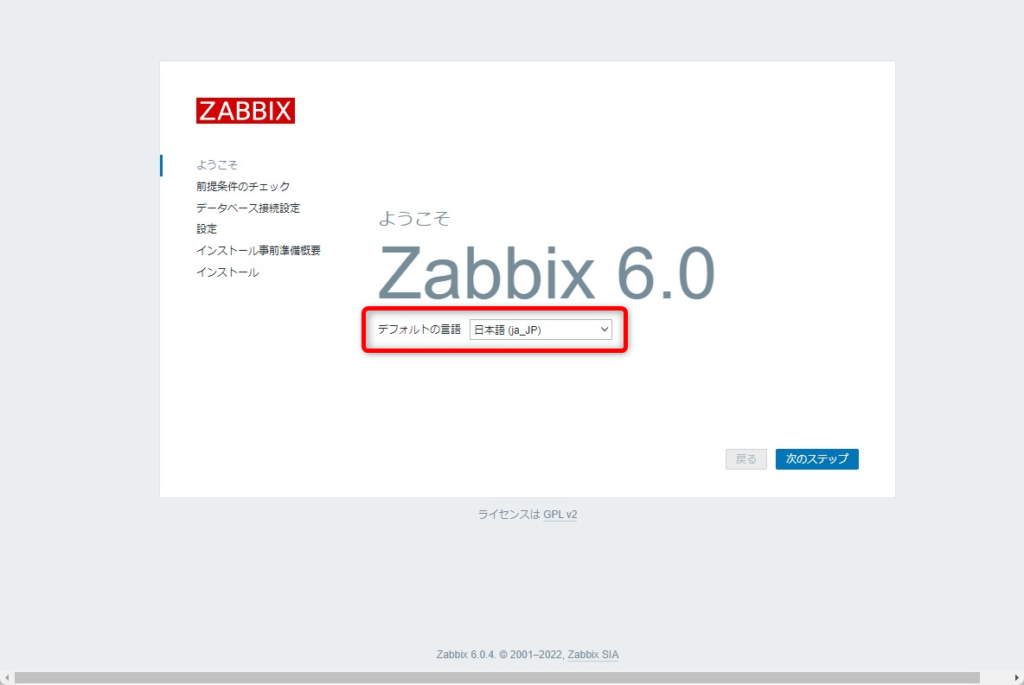
デフォルトの言語は『日本語』を選択して『次のステップ』をクリックします。
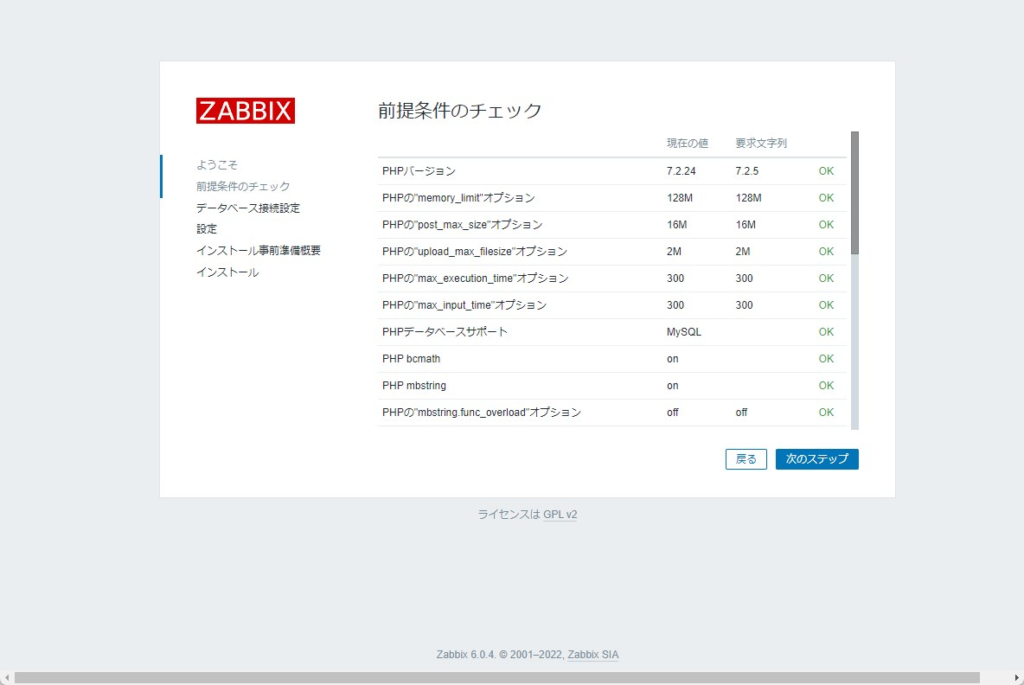
全ての項目に「OK」が入っていることを確認し『次のステップ』をクリックします。
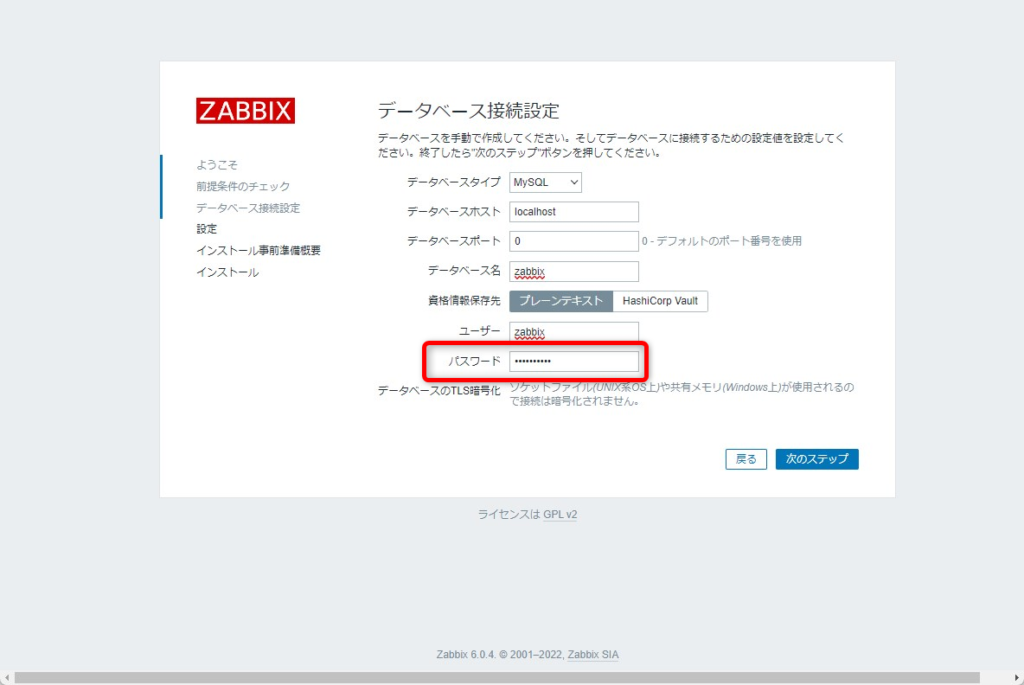
パスワードの項目にDBのユーザ「zabbix」のパスワード「zabbixpass」を入力します。
入力後『次のステップ』をクリックします。
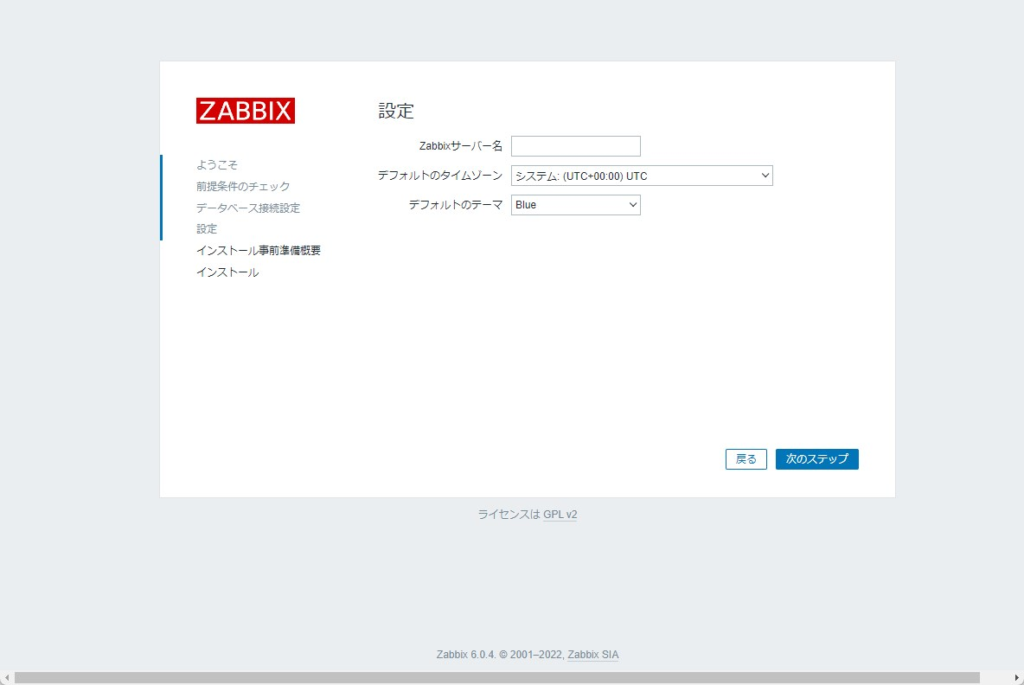
『次のステップ』をクリックします。
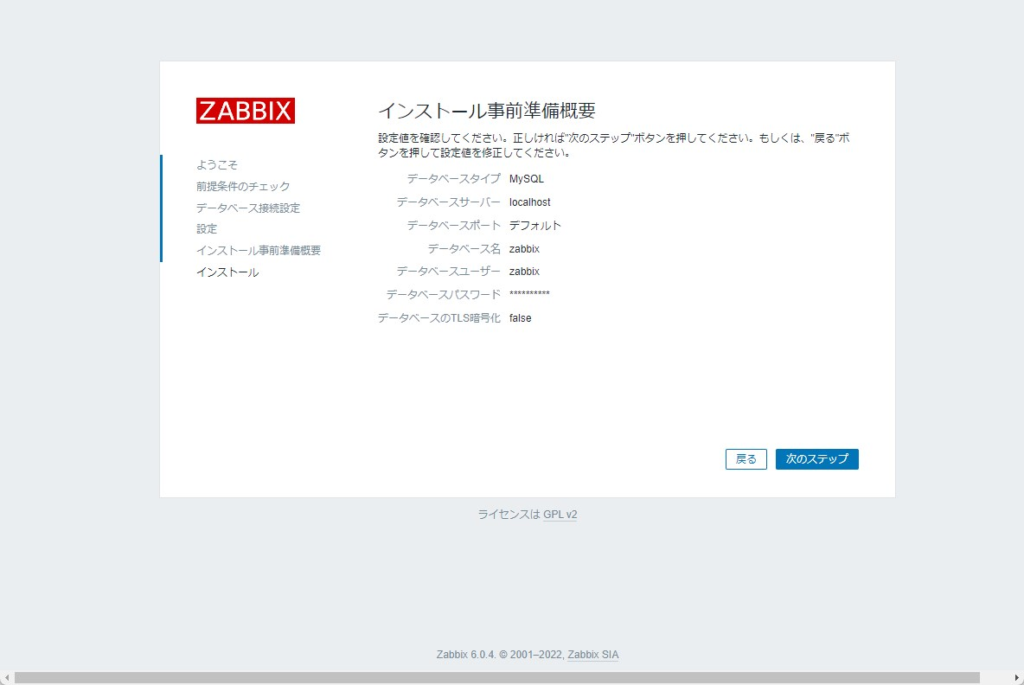
『次のステップ』をクリックします。
『終了』をクリックします。
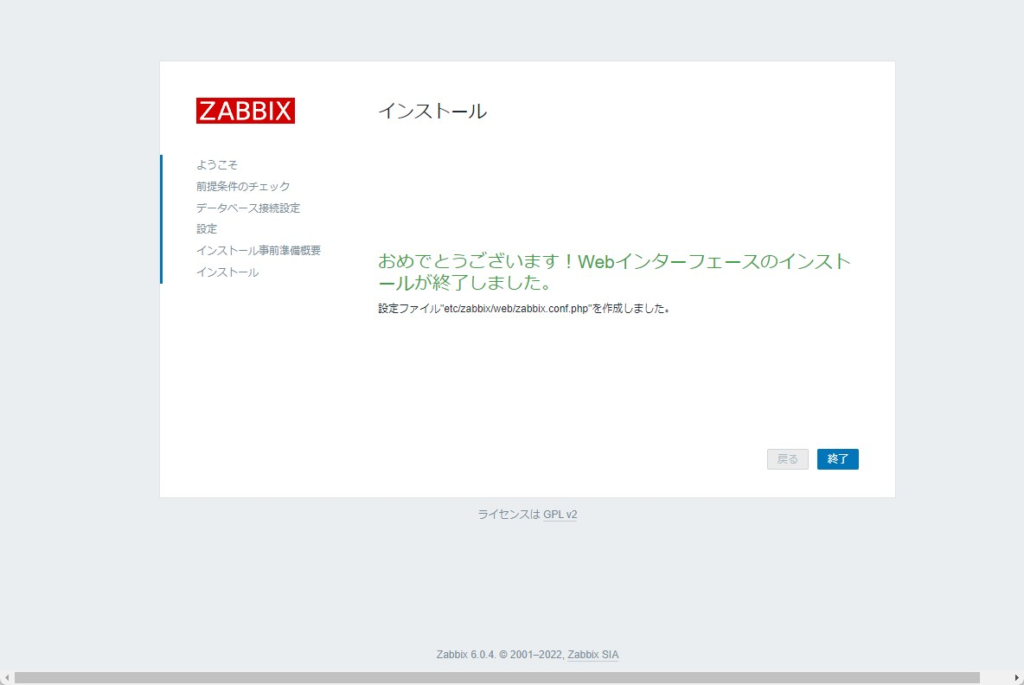
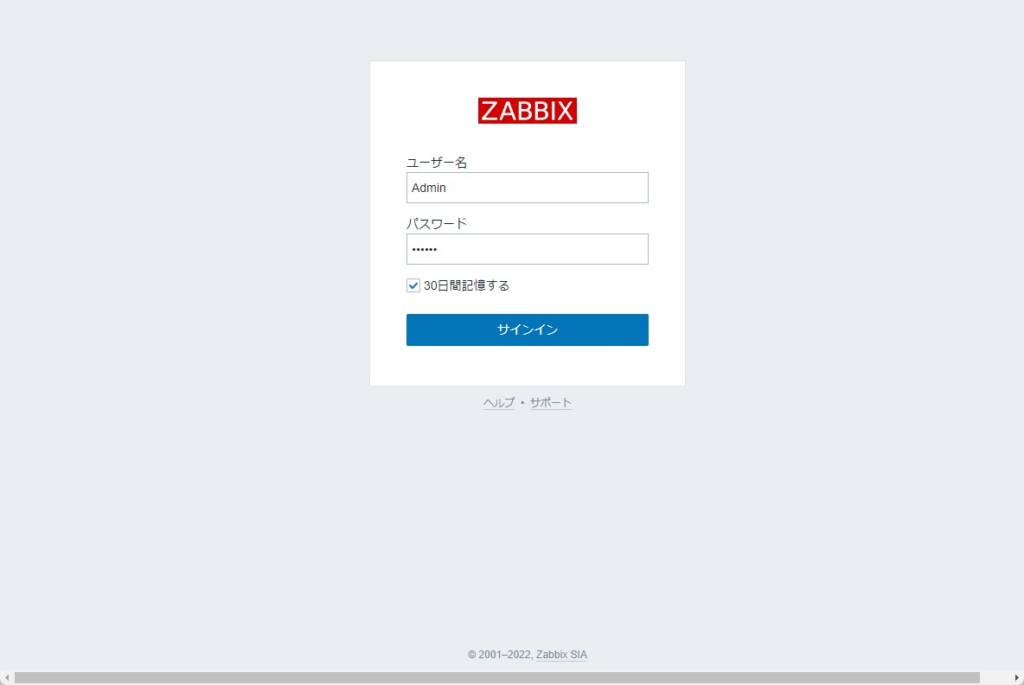
ログイン画面が表示されればインストール完了です!
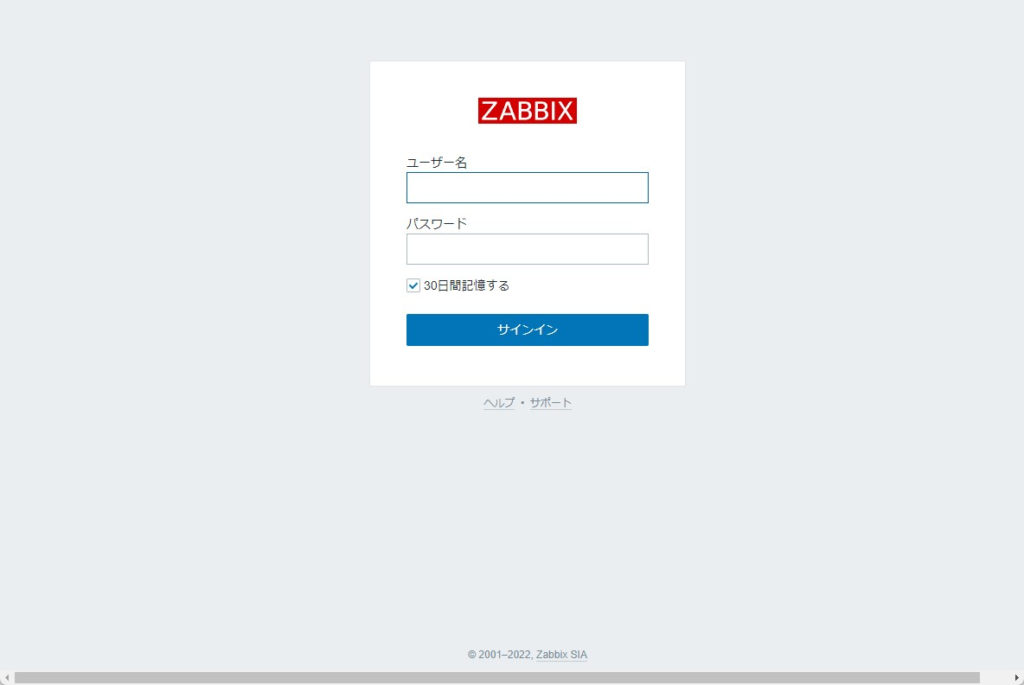
初期のアカウントは
- ユーザー名:Admin
- パスワード:zabbix
になります。
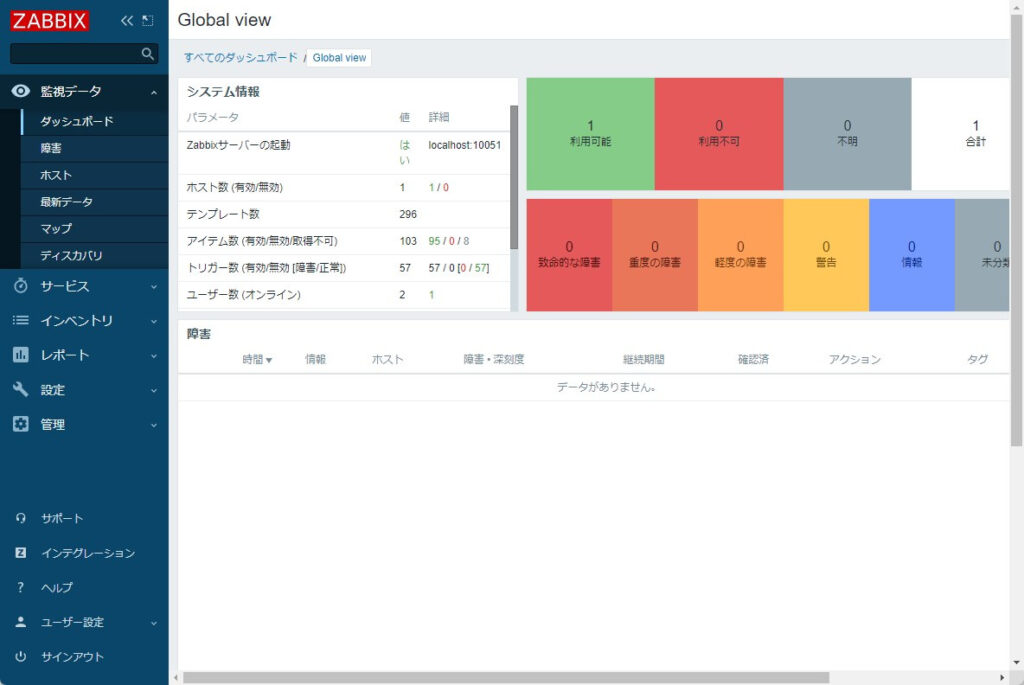
下のような画面が表示されればOKです


コメント