お疲れ様です。satimoです。
今回はPythonの学習環境をLinux(CentOS7)上に用意したので紹介していきます。
CentOS8にしようかとも思ったのですが、CentOS8のサポートが2021年12月31日で終了してしまうので今回はCentOS7上に構築していきます。
またWindowsの記事と同様ですが、今回は仮想環境にCentOS7を用意して動作できるかの確認をしていきます。
Pythonの学習環境の準備
仮想環境の準備
今回自宅にあるVMWare ESXi上にCentOS7をインストールしていきます。
ESXiの環境構築はこちら↓の記事で紹介していますので紹介させていただきます。
自宅インフラ構築】Linux/Windowsサーバーの勉強環境を構築
CentOS7のセットアップ
今回はmininalでインストールを行っています。
CentOSをインストール後yum updateを行います。
[st-pre myclass=”st-terminal” text=”command” webicon=”st-svg-terminal”]# yum update -y
[/st-pre]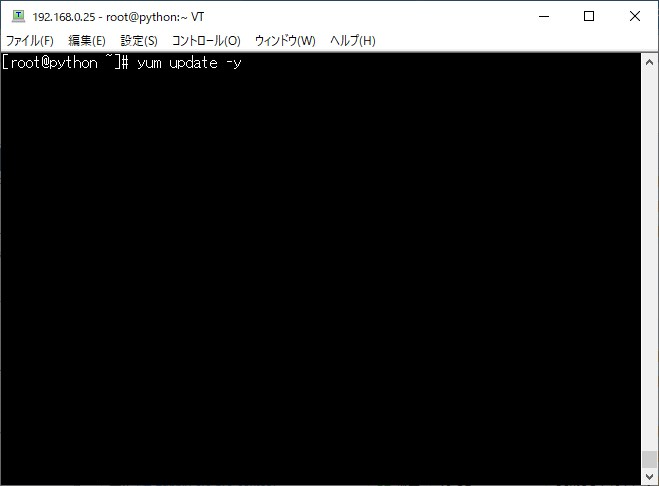
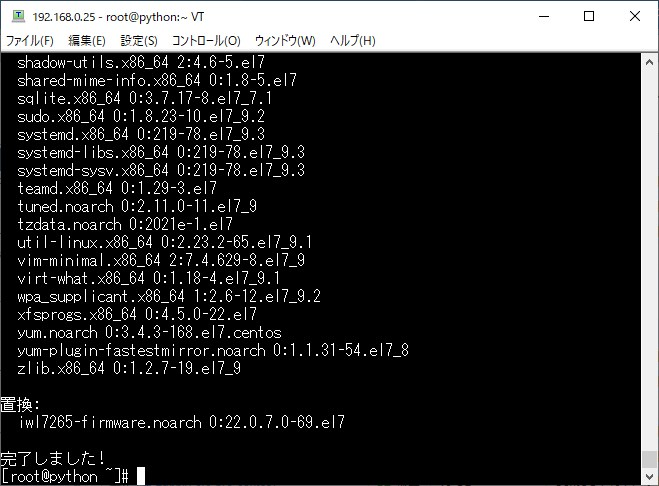
yum update実行後のCentOSのバージョンが「7.9」となります。
CentOSのバージョン確認方法はこちら↓
[st-pre myclass=”st-terminal” text=”command” webicon=”st-svg-terminal”]# cat /etc/redhat-release
[/st-pre]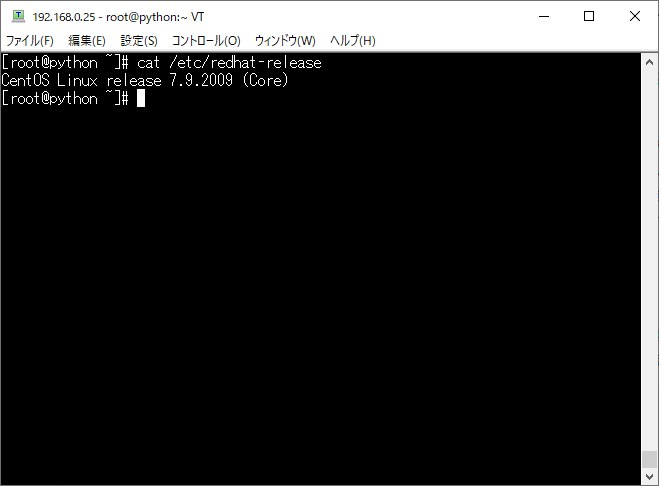
Pythonの環境を用意
下準備も済んだのでPythonのインストールを行っていきます。
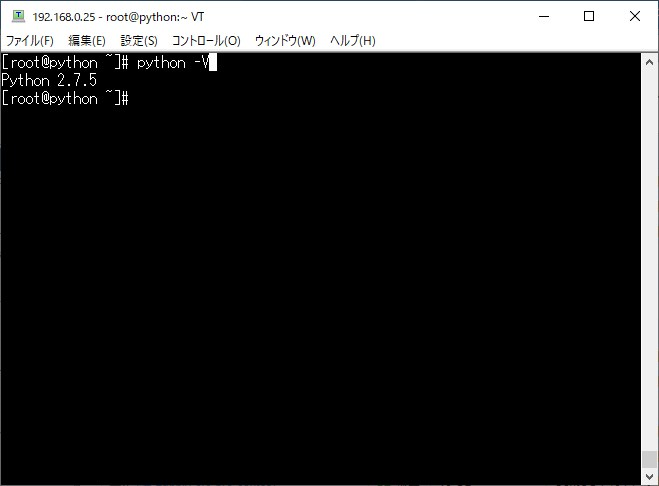
CentOSには最初からPythonが入っているのでインストールされているバージョンの確認してみます。
[st-pre myclass=”st-terminal” text=”command” webicon=”st-svg-terminal”]# python -V
[/st-pre]バージョン2.7.5であることが確認できます。
確認できた通り、2.系であれば標準で使うことができますが今回は3.系を利用できるようにyumで3.系のインストールを行っていきます。
[st-pre myclass=”st-terminal” text=”command” webicon=”st-svg-terminal”]# yum install python3 -y
[/st-pre]
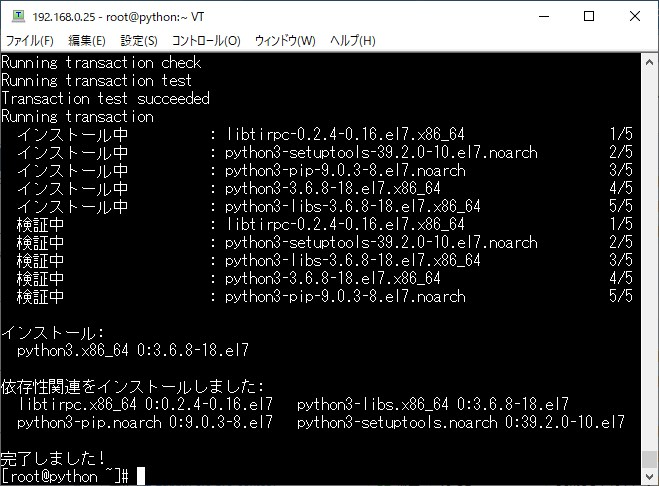
インストール完了後バージョンの確認を行っていきます。
前で紹介した「Python -V」を実行すると同じ結果の2.xが返ってきます。
Python3をインストールしてもバージョン指定しないとPython2の結果が表示されます。
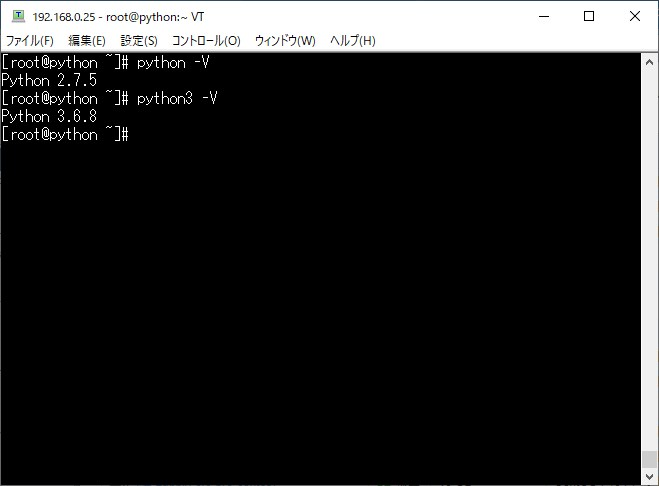
インストールした3.系のバージョンを確認するコマンドはこちら↓になります。
[st-pre myclass=”st-terminal” text=”command” webicon=”st-svg-terminal”]# pyhon3 -V
[/st-pre]今回の結果では 「Python 3.6.8」と表示されればインストールOKです。
このままの状態でもPythonは使うことができますが、標準のバージョンを『3』に固定する方法を紹介していきます。
Python3をデフォルトバージョンにする
まず、現状のpythonファイルのバックアップを取得します。
[st-pre myclass=”st-terminal” text=”command” webicon=”st-svg-terminal”]# mv /usr/bin/python /usr/bin/python.bak
[/st-pre]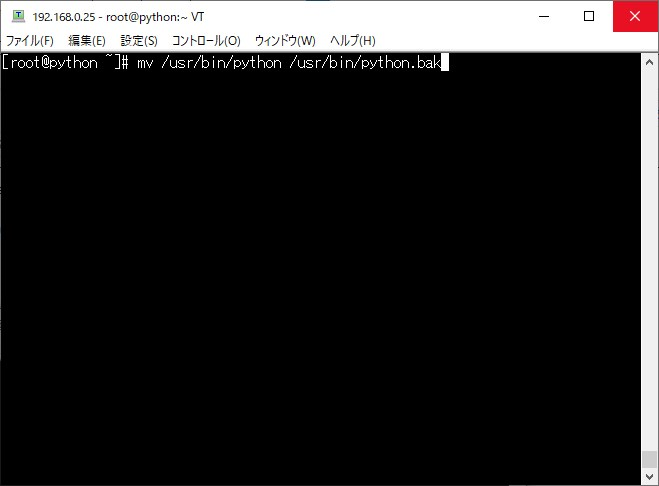
pythonファイルにpython3.6のシンボリックリンクを指定してあげます。
[st-pre myclass=”st-terminal” text=”command” webicon=”st-svg-terminal”]# ln -s python3.6 /usr/bin/python
[/st-pre]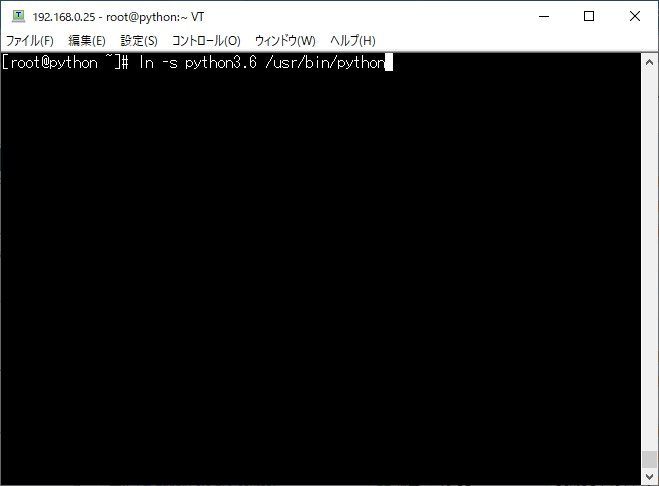
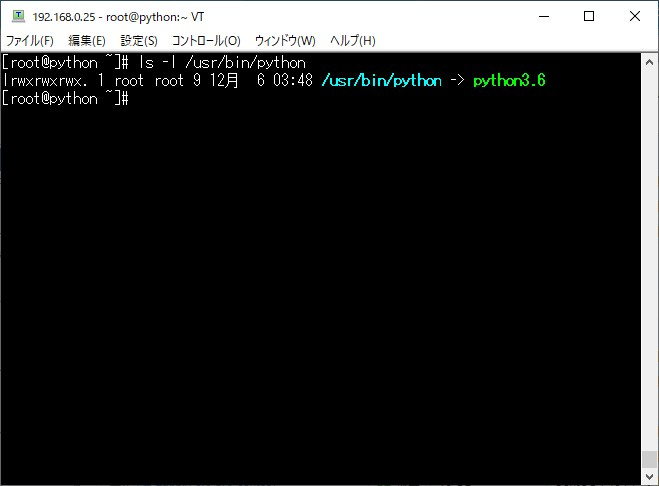
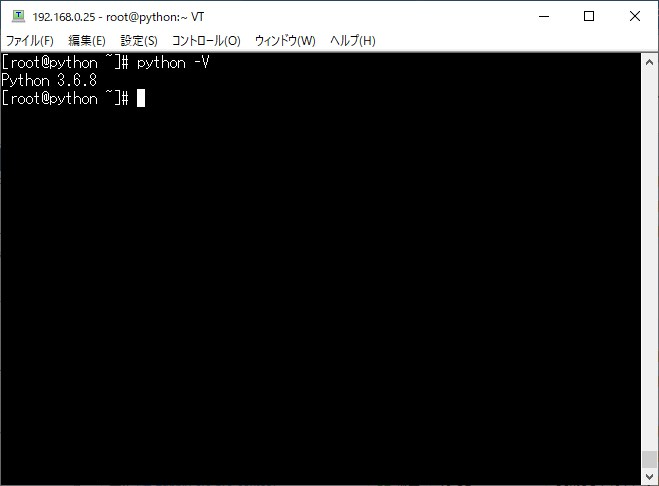
正常に実行できたらバージョンの確認を再度行ってみます。
[st-pre myclass=”st-terminal” text=”command” webicon=”st-svg-terminal”]# python -V
[/st-pre]表示されたバージョンが 3.系であればOKです。
参考にしたサイト
https://www.linuxmaster.jp/linux_skill/2020/04/centospythonpython2python3.html
コメント