
お疲れ様です。satimoです。
別記事でちょこちょこ書いてますが最近AWSの活用を会社が始めていまして、じゃぁAWSの監視ってどうやるのよ?って話しになるわけです。
監視ではZabbixを使っているのですがAWSとなるとZabbixだけではできない部分もあることがわかり、New Relicなるものの存在を知りまして、無料で使えるということもあり触っていこうかということで記事にしています。
とりあえず今回は無料登録の紹介になりますのでこれからNewRelicの勉強をやる方は参考になる部分もあるかと思いますのでご一読いただければと思います。
New Relicのアカウント作成
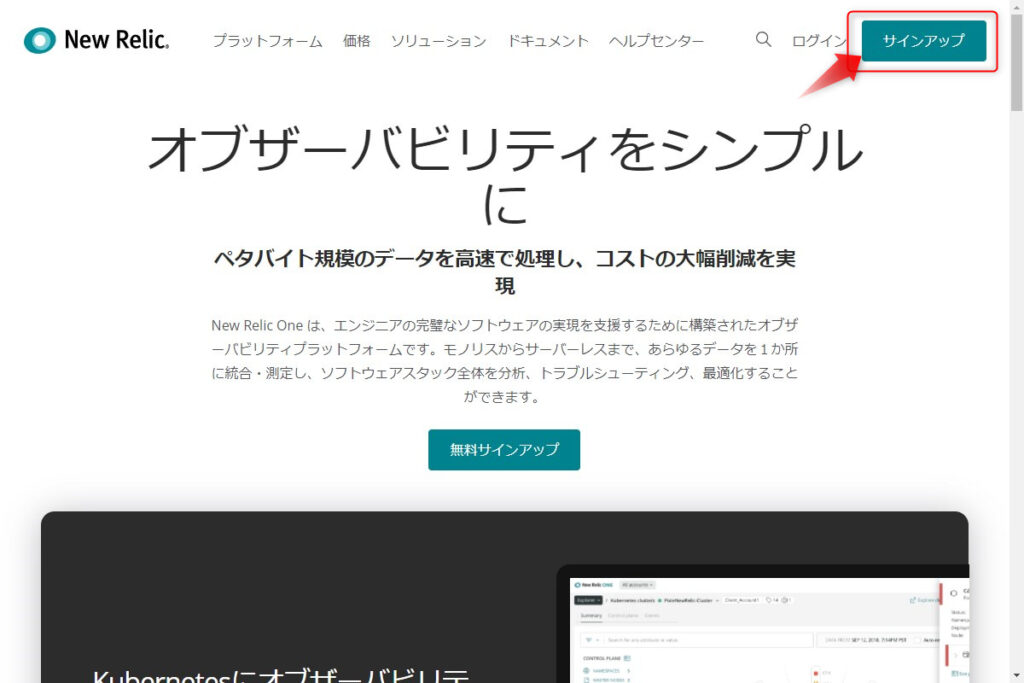
New Relicのホームページに接続して右上にある『サインアップ』をクリックします。
New RelicのホームページURL:https://newrelic.com/jp
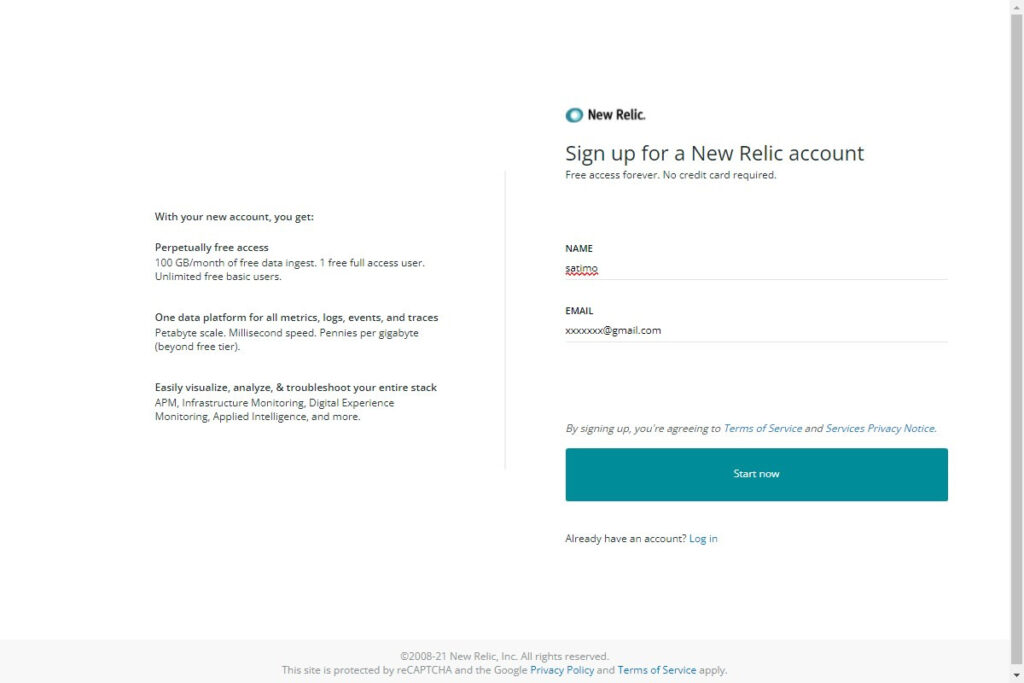
下記のような画面に切り替わるので右側の項目に必要事項を入力します。
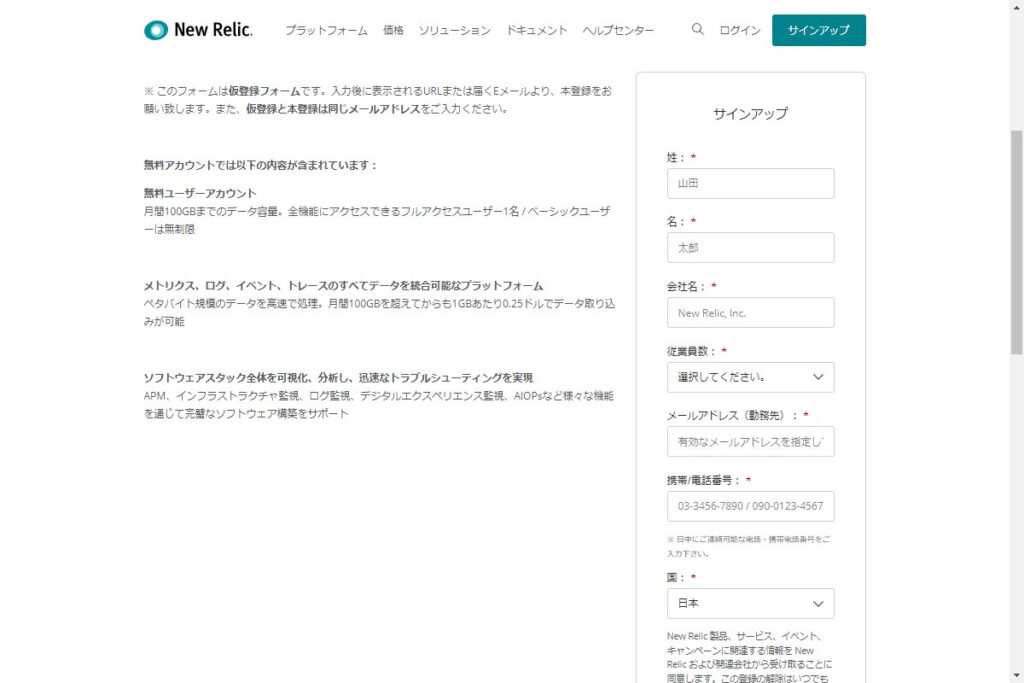
入力して『サインアップ』をクリックします。

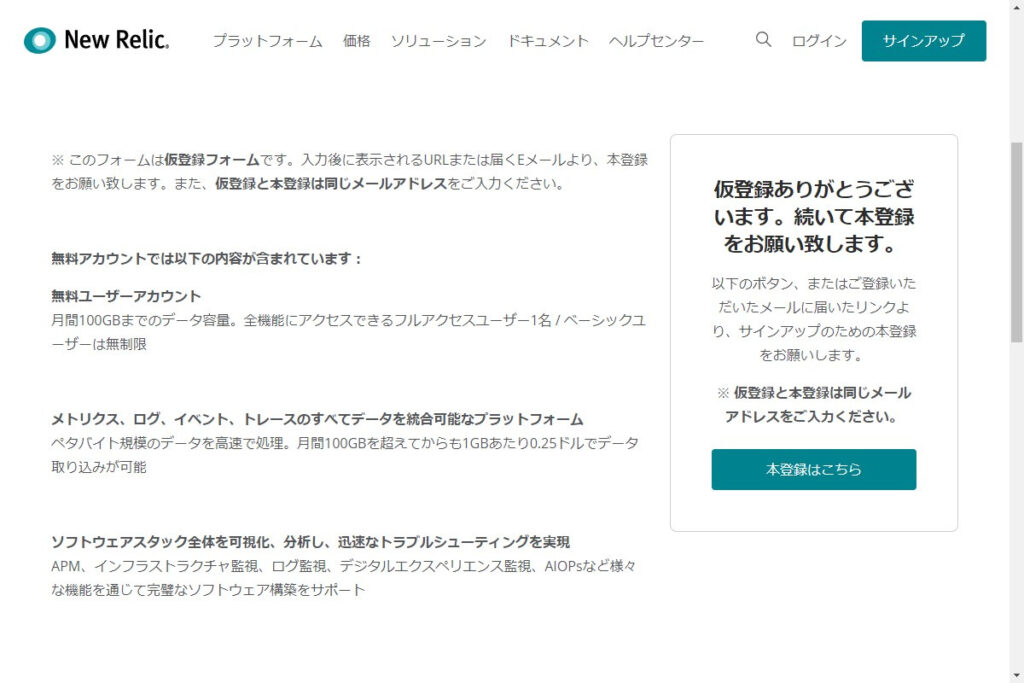
画面が切り替わるので『本登録はこちら』をクリックします。
New Relicのコンソールにログインする為のユーザ名、メールアドレスを入力し『Start now』をクリックします。

【入力後】
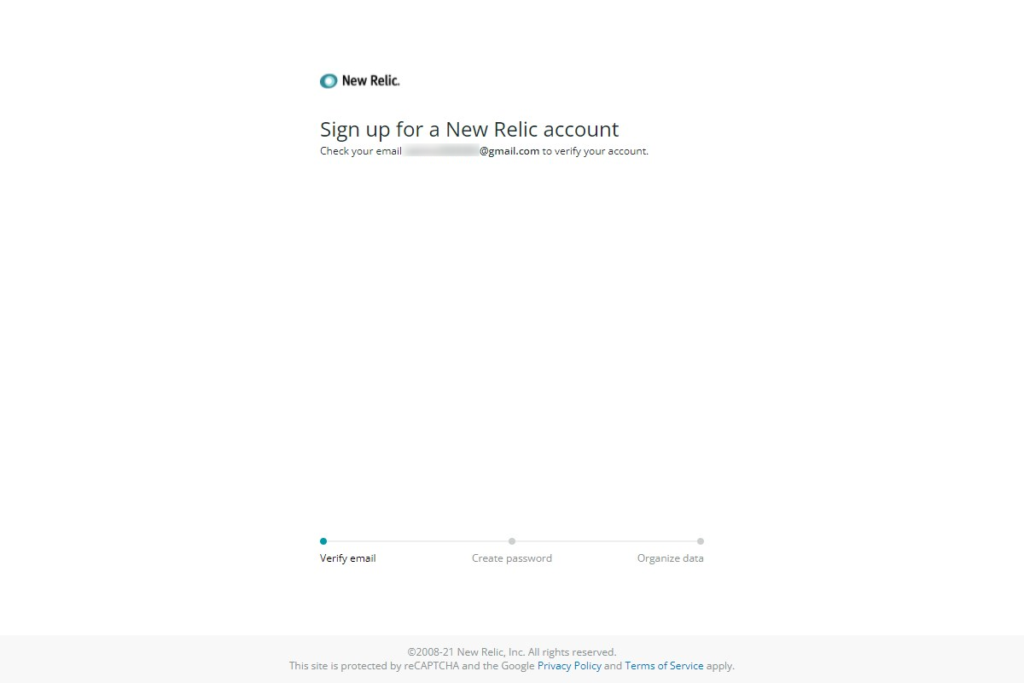
こちらの画面が表示されたら登録したメールアドレス宛にメールが届くので確認してみます。
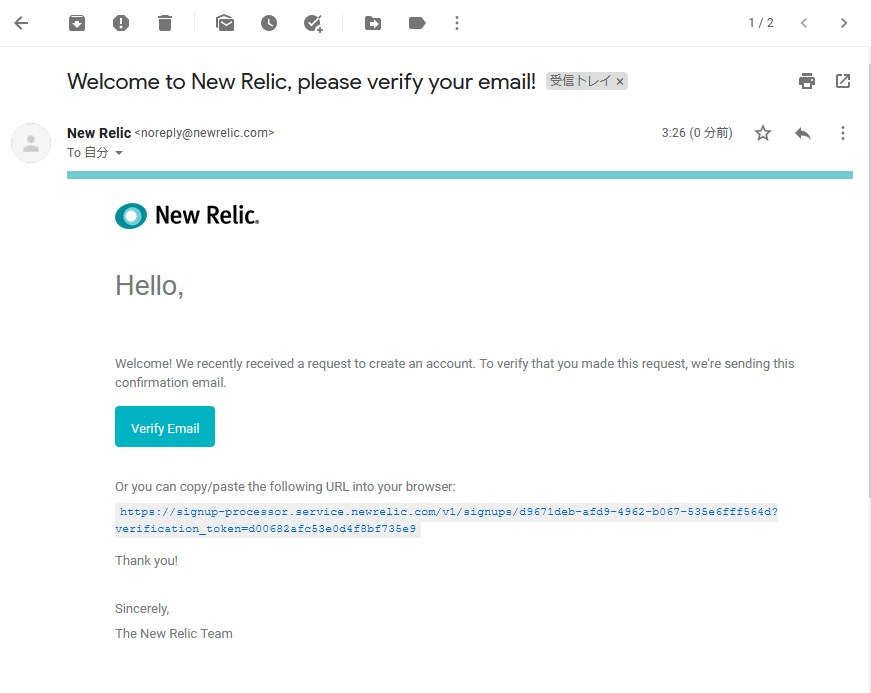
届いたメールがこちら
『Berify Emailをクリック』または『記載されているURLに接続』します。
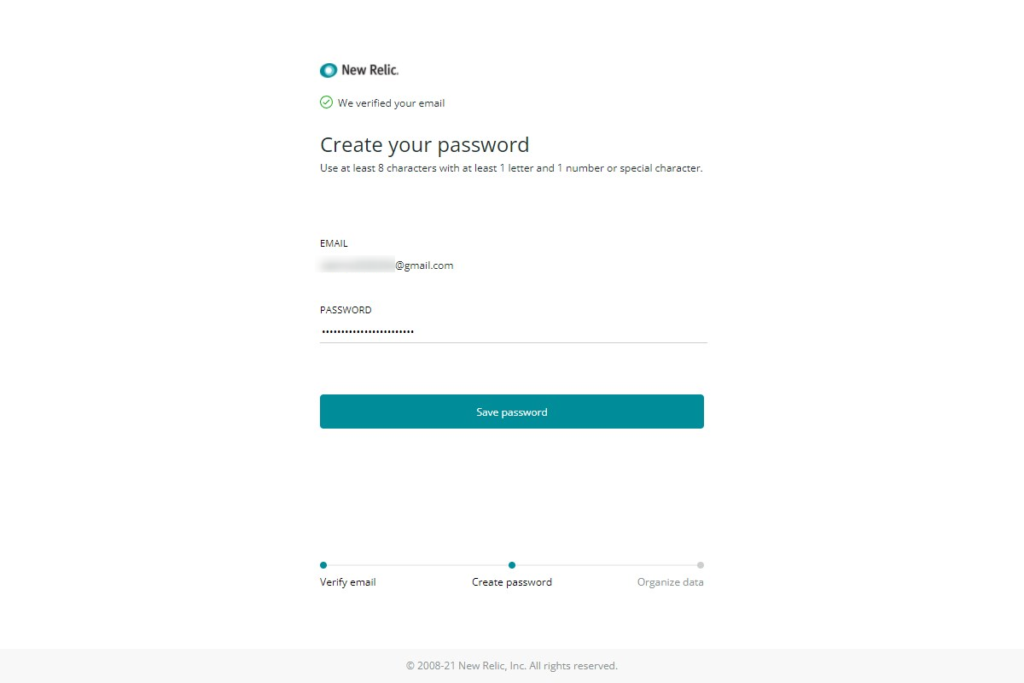
登録画面が表示されるのでパスワードの登録を行います。
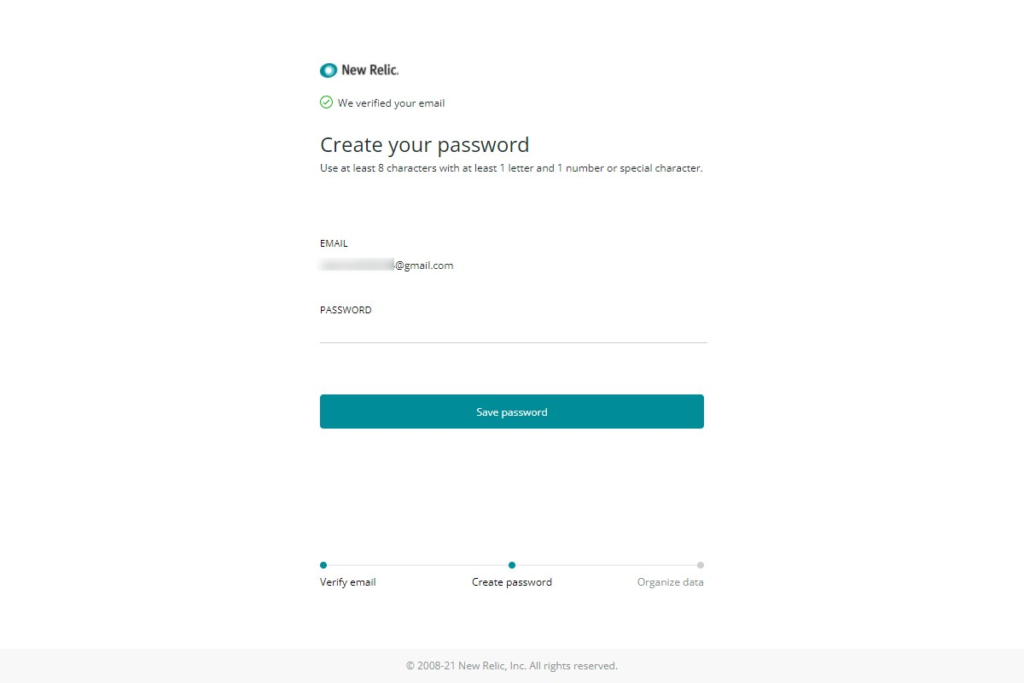
パスワードを入力し『Save password』をクリックします。
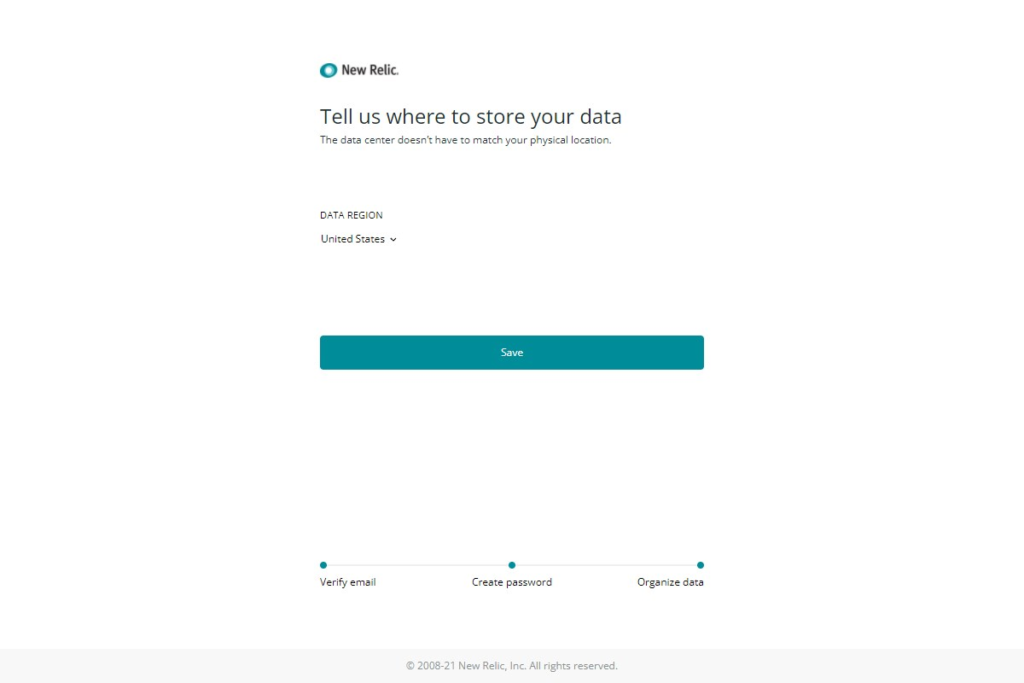
『Save』をクリックして登録完了です。
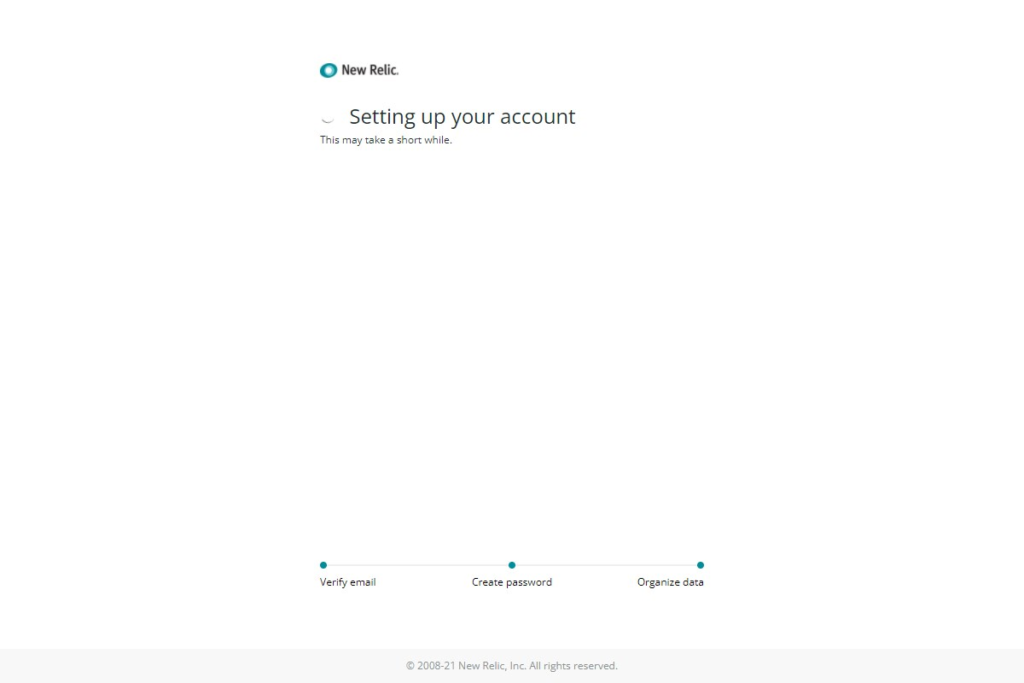
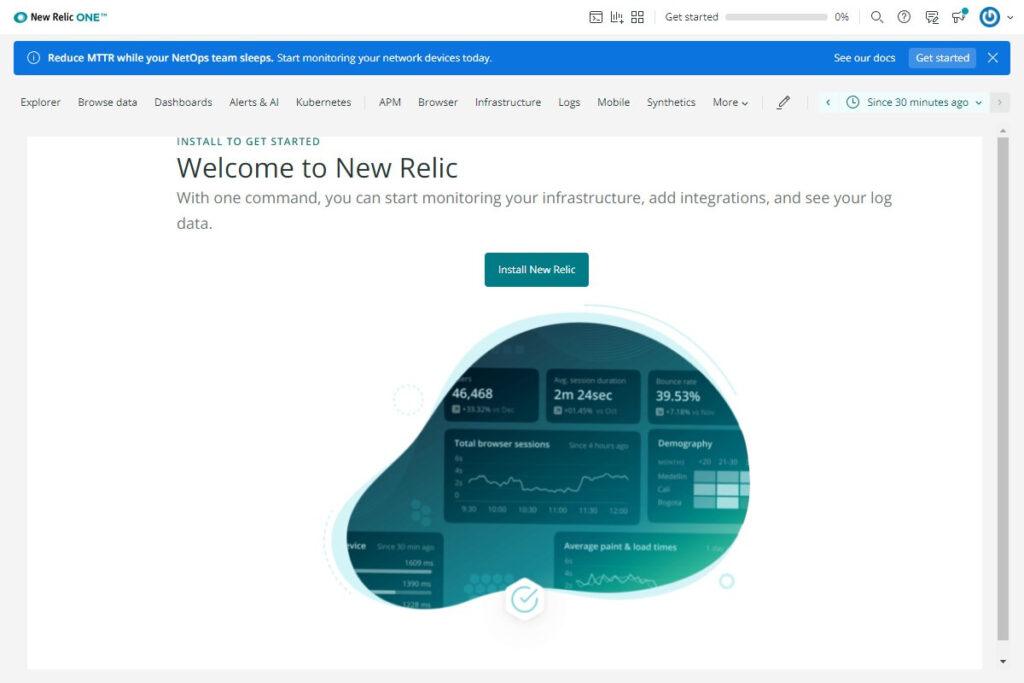
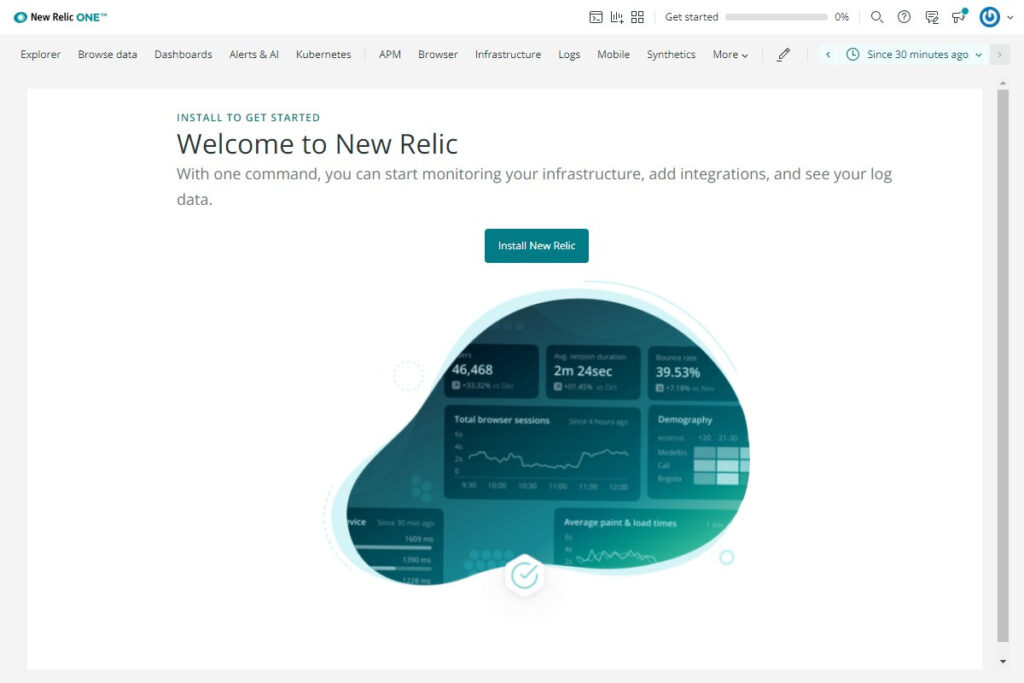
初期設定の画面に移りますが、とりあえず設定は完了になります。
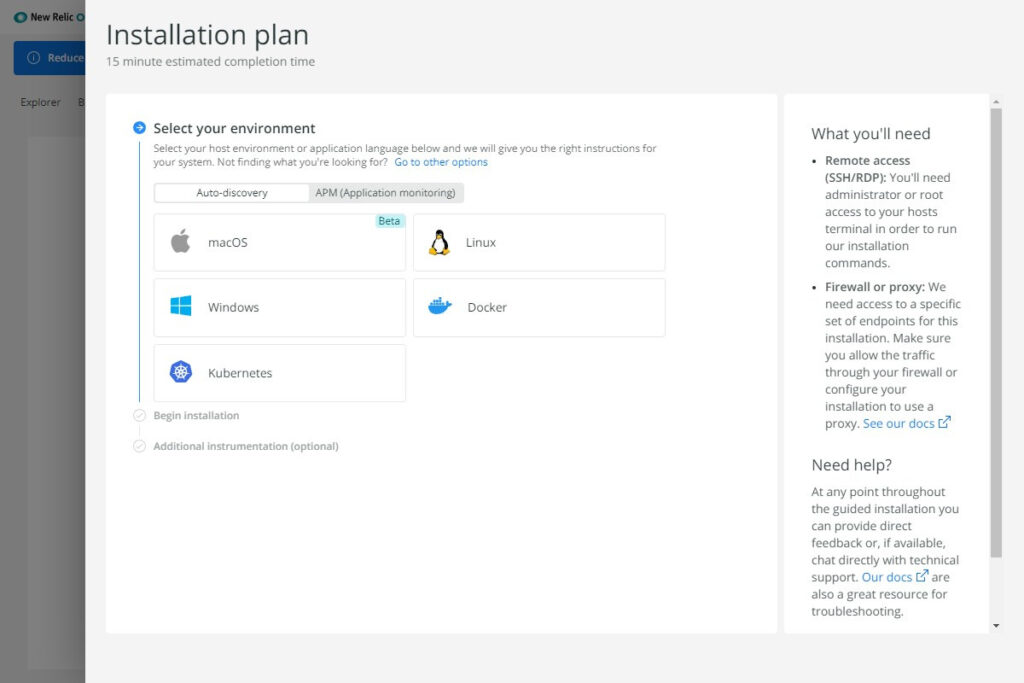
上記キャプチャ画面の左(薄暗いところ)をクリックするとNew Relicのトップ画面に移ります。
簡単ですが、今回はNewRelicのアカウント登録について紹介しました。
次はNewRelicに監視対象機器の登録を行っていきます。
最後まで読んでいただきありがとうございました。
コメント